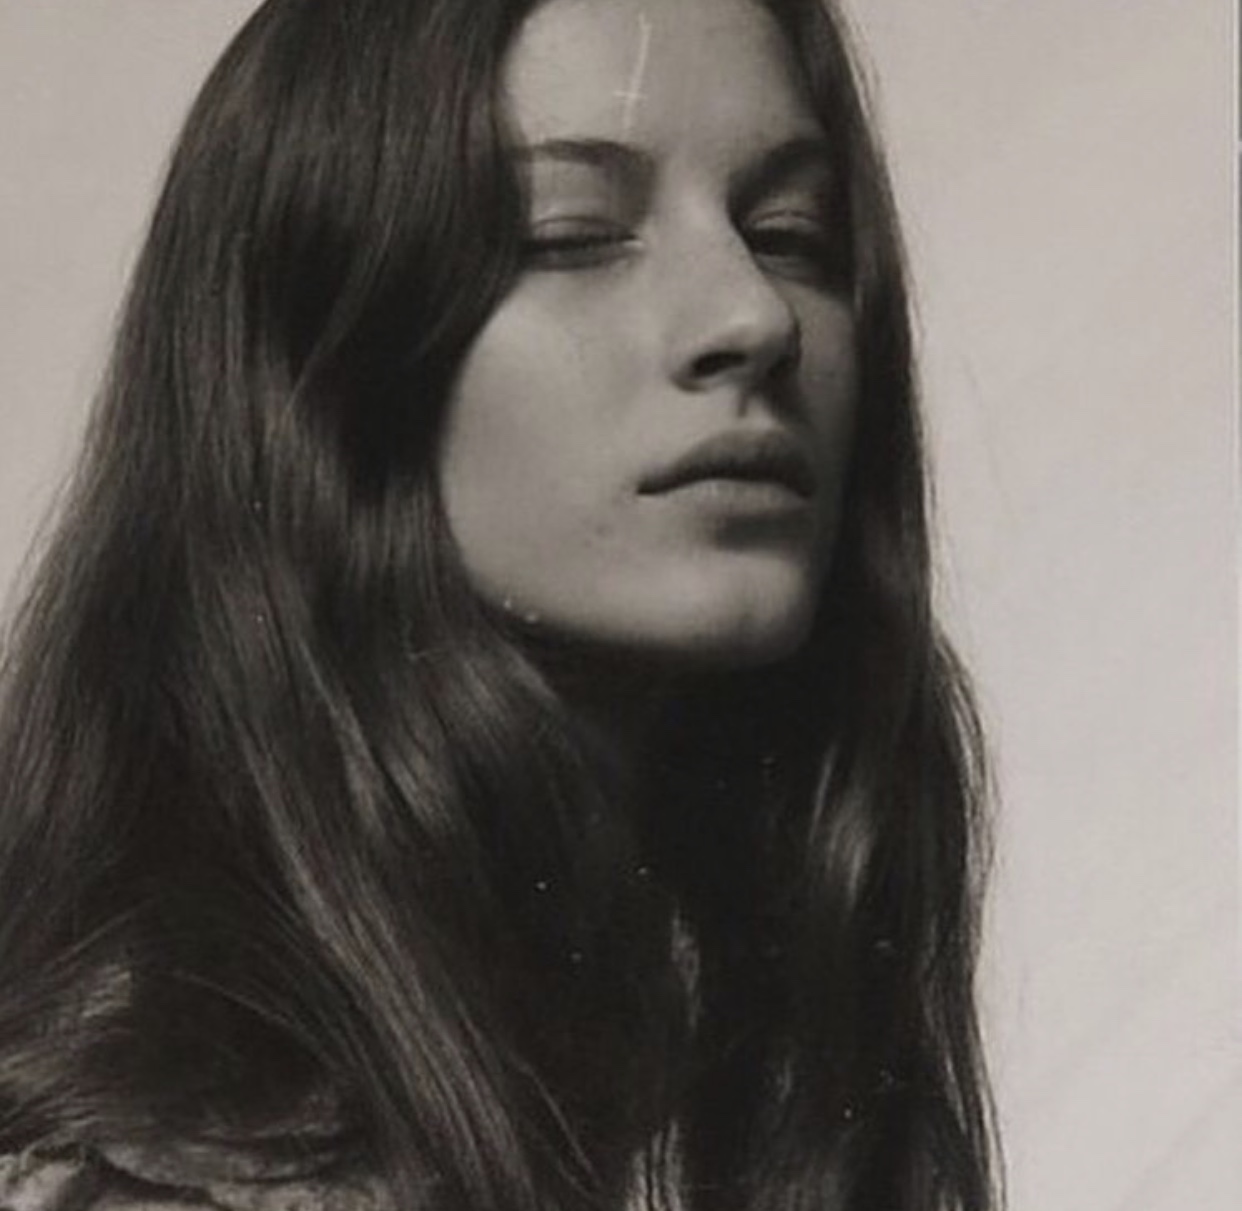
 Gua sha is one of the most trendy self-care and skin-boosting techniques to use right now! But does it really work? What is gua sha anyway? How and how often should we be doing it? Let’s dive right into it!
What is gua sha?
Used in traditional Chinese medicine, gua sha involves scraping a flat, rounded tool, over the skin. Translated, gua means press or stroke, and sha refers to a rash or redness. Gua sha would be best described as a mix of massage and workout – as it helps release tension as well as leaves the skin looking instantly more smooth, glowing and healthy-looking.
The benefits of gua sha
Gua sha has many great qualities and comes in different materials and they all have their own benefits. Jade is known for its balancing effects and helps de-puff features while clearing inflammation. Rose quartz is better known for its wrinkle-reducing benefits. Black obsidian stone is believed to be a powerful protector against negative energy. Of course, all these different stones have their area of expertise, all of the above is achieved by doing gua sha on a regular basis.
Gua sha is a great source of muscle tension and can be used on both face, neck, body, and scalp. The treatment relaxes the muscles, gets the energy and blood moving. By boosting the circulation it takes away toxins and brings in oxygen and nutrients. It also helps with lymphatic drainage which decreases puffiness and prevents the appearance of fine lines.
We take care of our teeth every day so why shouldn’t you do the same with your skin? If you get gua sha into your day-to-day beauty repertoire it will leave your skin glowy and energized.
How to use a gua sha
- You can use a gua sha on the face, body, and scalp, with a serum or oil – never on bare skin.
- Hold the gua sha tool with the curved side to your face and glide it gently up and out, starting with the neck, jawline, chin, and around the mouth, between three and five times per area. Always take short strokes in just one direction, not back and forth. Repeat about 3-5 times.
- Next, press the tool flat to the skin, under the eyes, or over any redness, to soothe and de-puff.
- Work the tool in small horizontal strokes over the brow bone to lift, or hold and press upwards between the brows to release tension.
- Stroke down the neck, never upwards, to drain fluid.
- If you want to reduce puffiness, work lightly, then more firmly, to relax muscles.